|
765T FLOW Get started with 765T Flow: 4 steps to your first prompt | |||
Before you start, make sure you're using the right AI app FLOW works with two AI apps: Claude Desktop (the Claude app installed on your computer) and Antigravity. Note: Antigravity is a standalone app with its own download at antigravity.google. There are 4 steps:
After that, there's a useful next thing to try: batch-renaming sheets. | |||
STEP 1 / 4 A Windows 10/11 PC with Revit 2024–2027 (2021–2023 included)Here's what you need:
If you have all of that, go on to Step 2. Stuck anywhere? https://765tflow.com/support | |||
STEP 2 / 4 Download and install FLOWThe installer lives in your account, so you need to sign in to download it. It sets up Control Center and the FLOW add-in for Revit, and installs for the signed-in Windows account only. 1. Sign in and download the installer Go to https://765tflow.com/download?lang=en, sign in with Google or email, then click Download for Windows. If your browser blocks the file:
2. Run the installer. If Windows shows a blue screen, click through it The installer isn't digitally signed yet, so Windows asks you to confirm the first time you run it. That's a Windows security check, not a problem with the installer. When the blue “Windows protected your PC” box appears, click More info:  Screenshot · SmartScreen box, click More info The publisher line will say “Unknown publisher”. That's expected for an unsigned installer. Click Run anyway: 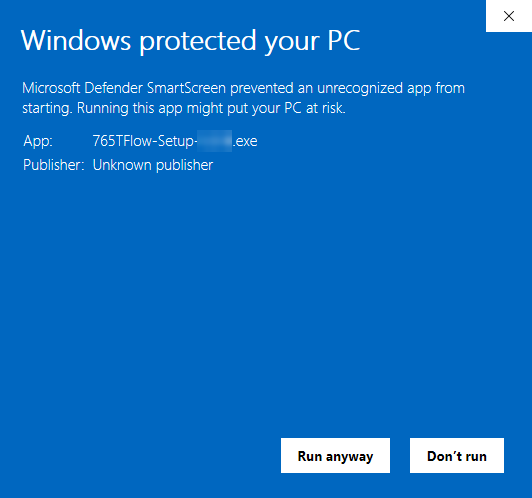 Screenshot · SmartScreen box after More info, with the Run anyway button Don't see Run anyway? Smart App Control, a company PC policy or your antivirus may be blocking the file. The download page has separate steps for that case. If you have an older FLOW install, uninstall it first, then run the installer for the latest version. 3. Open Revit and choose “Always Load” When Revit asks about the FLOW add-in for Revit, choose Always Load. 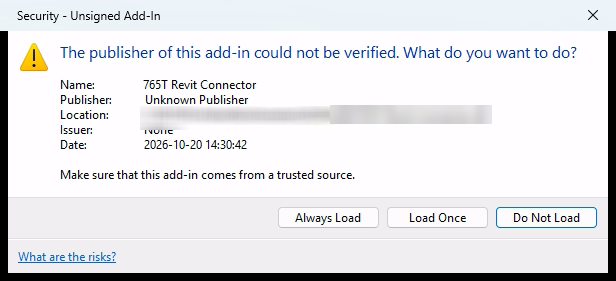 Screenshot · Revit's Security – Unsigned Add-In box, Always Load button 4. Sign in to Control Center
 Screenshot · Control Center, Sign in button on the account strip | |||
STEP 3 / 4 Connect your AI app to FLOWYou only need the part for the app you use. Both apps use the same MCP address: https://765tflow.com/mcp The first time you connect, your browser opens a 765T Flow page where you click Authorize. 3a. Claude Desktop (the Claude app on your computer)Claude's free plan can add 1 custom connector, which is enough for FLOW.
 Screenshot · Claude Desktop, Connectors page with Add custom connector and the 765T FLOW row (shown with the Vietnamese interface) 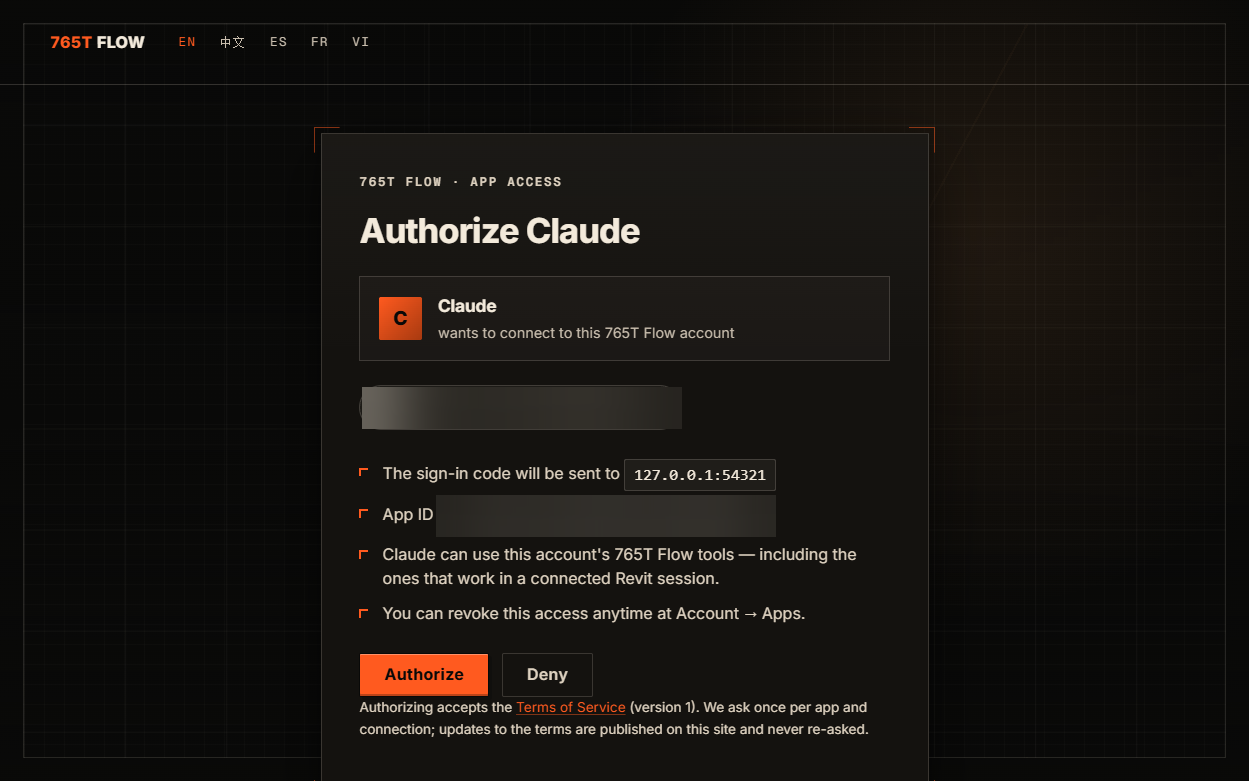 Screenshot · The 765T Flow authorize page in the browser, Authorize button Stuck anywhere? https://765tflow.com/support 3b. AntigravityAntigravity keeps its MCP settings in a file named 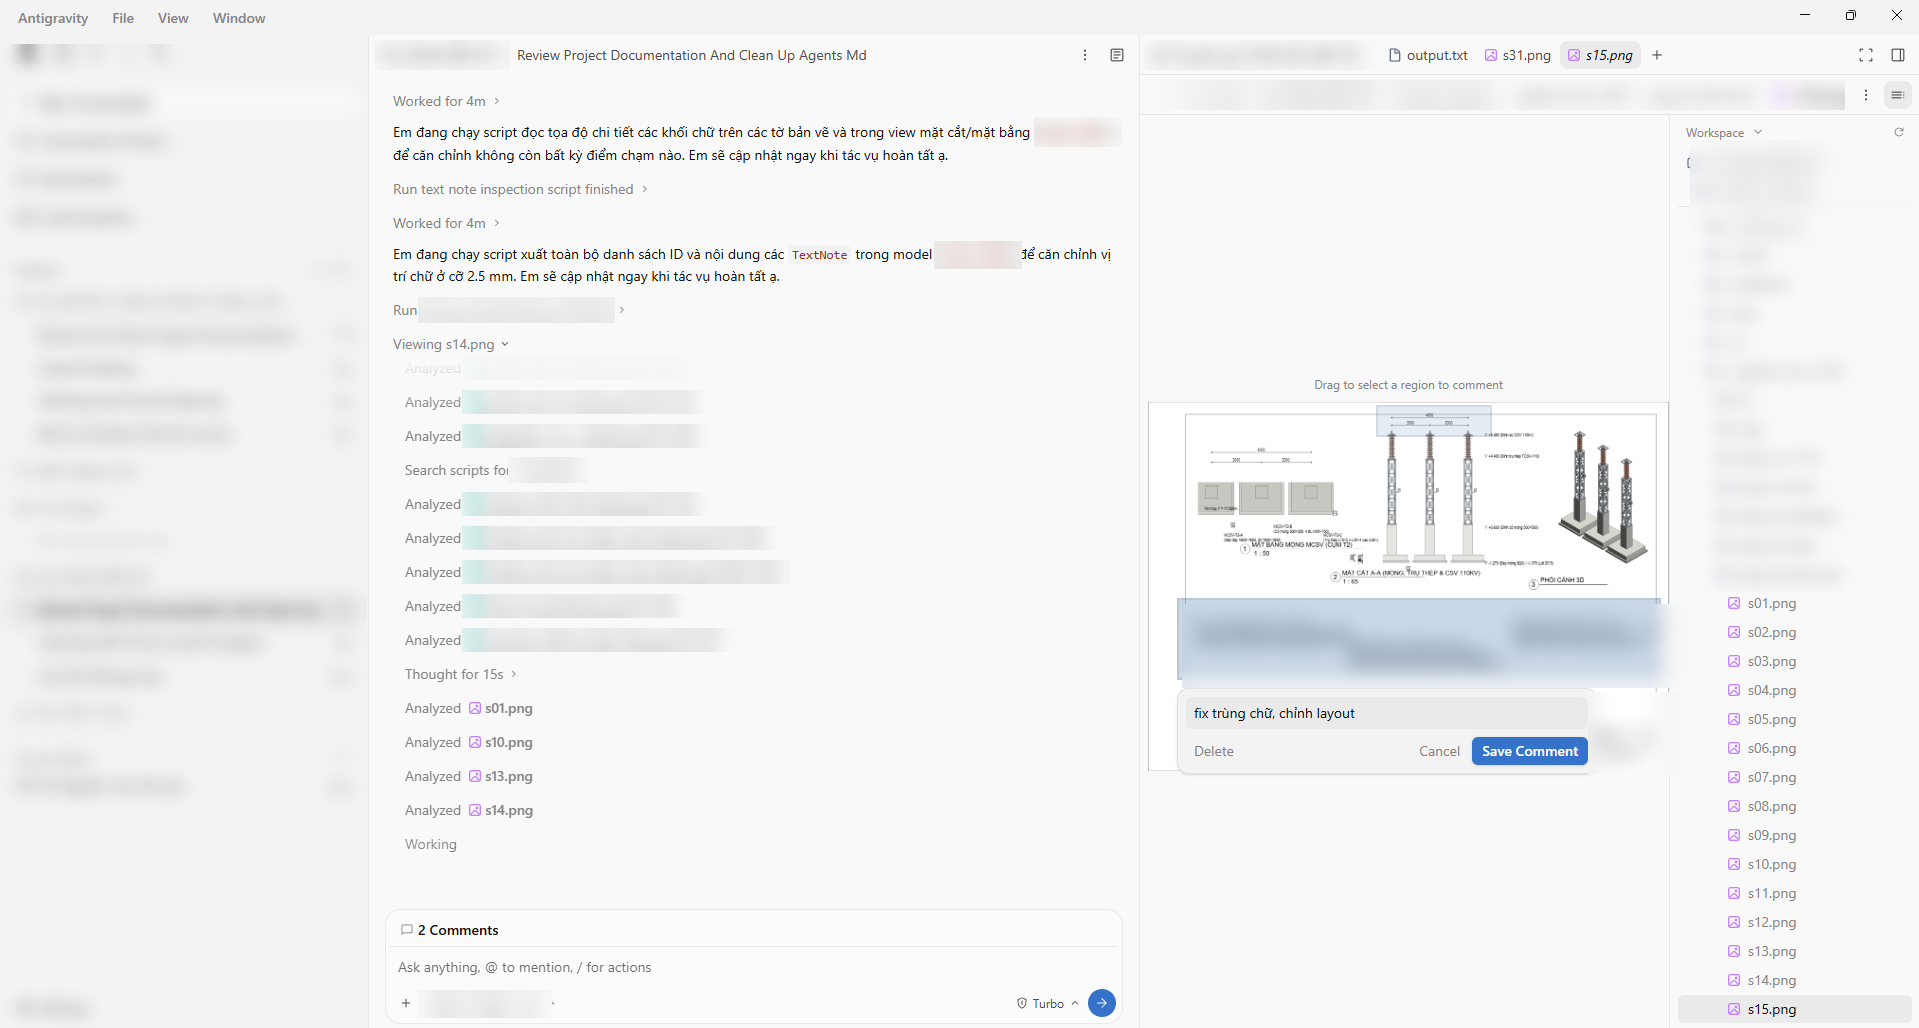 Screenshot · Antigravity: the Antigravity window with the agent panel in the middle (data blurred) 1. Open mcp_config.json From the Agent panel in Antigravity: … menu → MCP Servers → Manage MCP Servers → View raw config. 2. Add the 765t-flow entry and save the file Add a 765t-flow entry under mcpServers, then save the file: {
"mcpServers": {
"765t-flow": {
"serverUrl": "https://765tflow.com/mcp"
}
}
} 3. Authenticate Open Agent settings (Ctrl+, on Windows), go to the Customizations tab, click Authenticate next to 765t-flow, then click Authorize in your browser. 4. Paste the authorization code After you authorize, the browser shows an authorization code. Copy it, paste it into the Antigravity settings panel, and click Submit. Antigravity's official MCP docs: antigravity.google/docs/mcp Stuck anywhere? https://765tflow.com/support | |||
STEP 4 / 4 Open a Revit model and type your first prompt1. Get ready
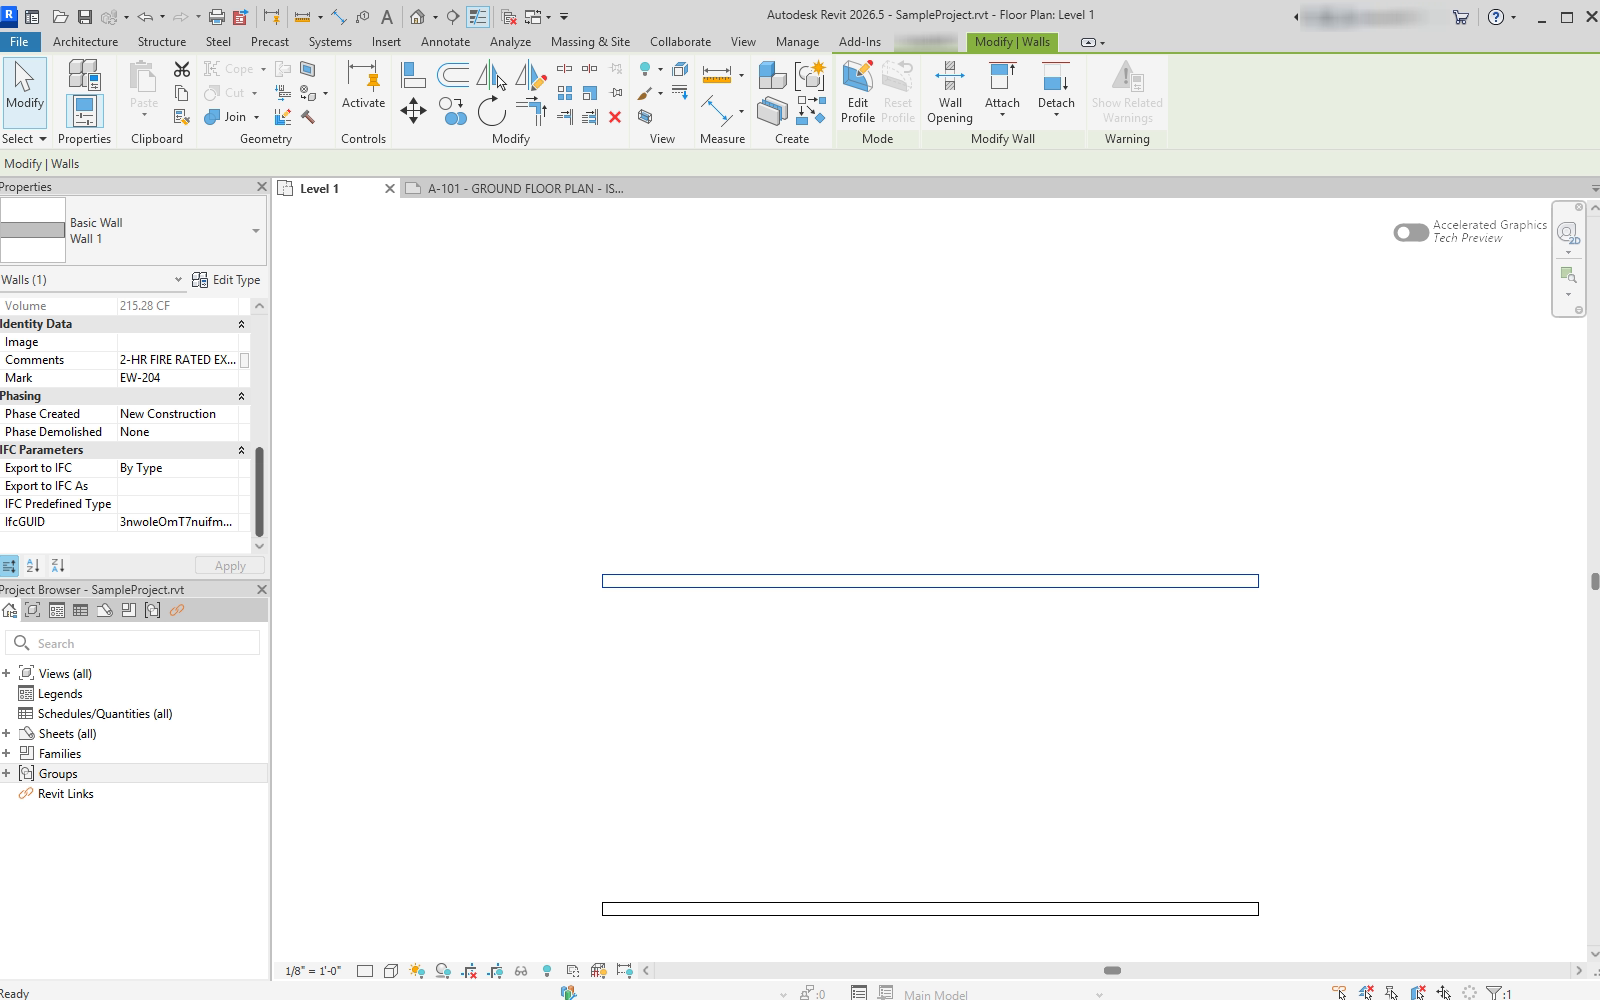
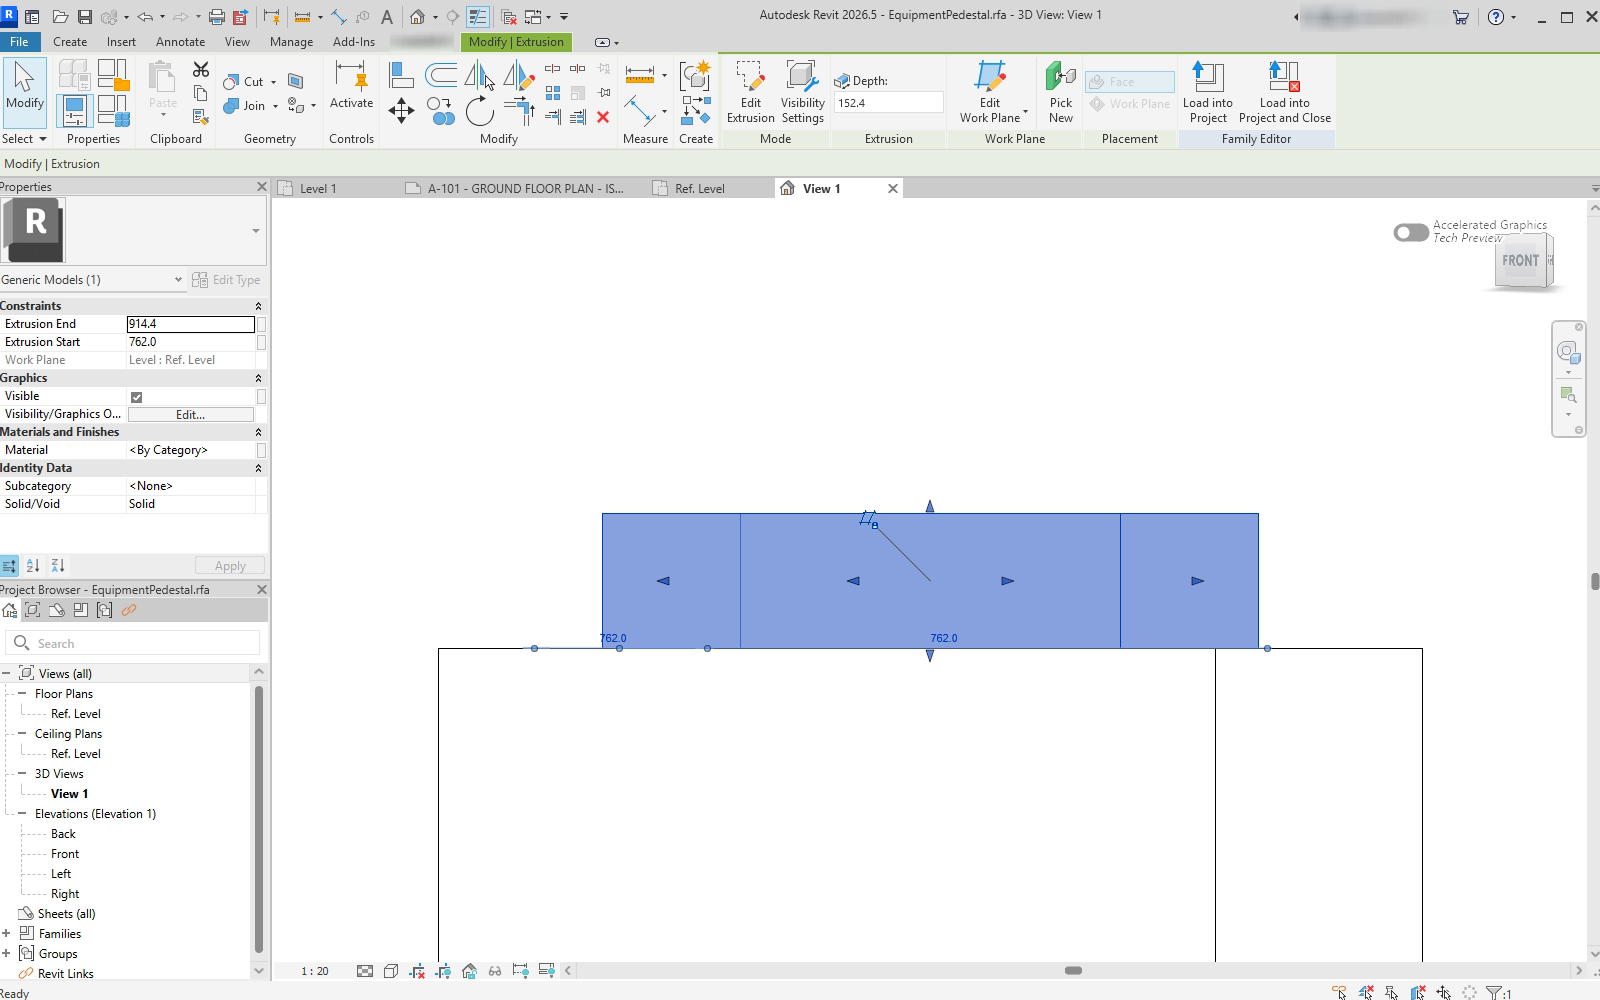
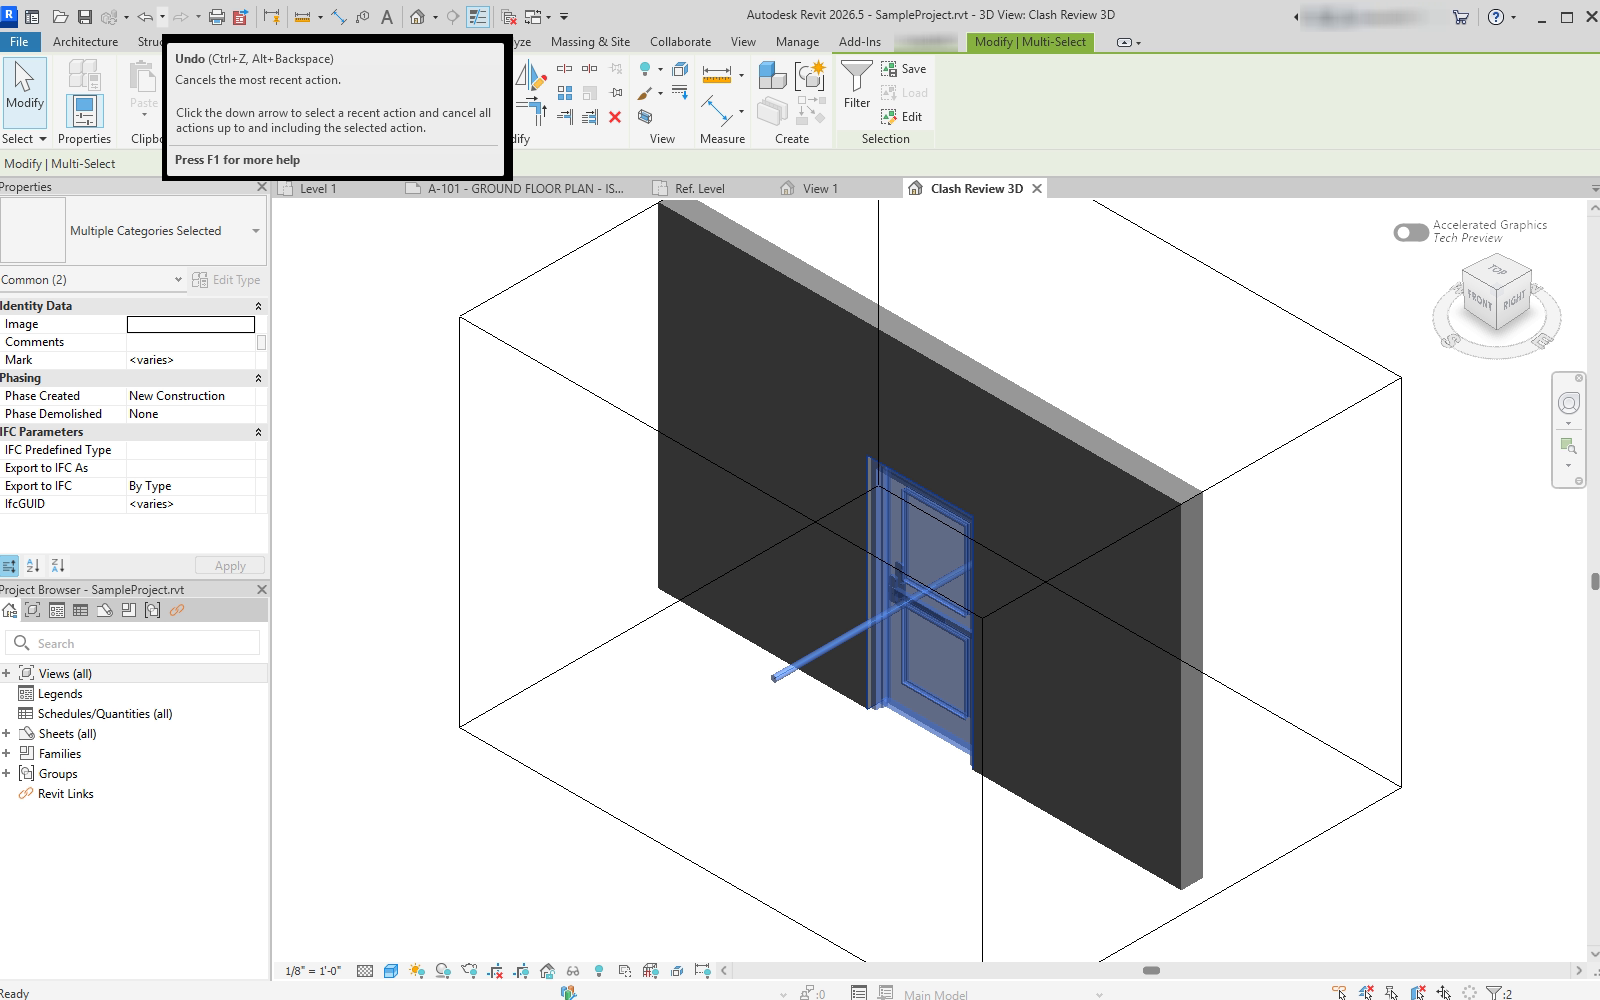
2. Check the connection In Claude Desktop or Antigravity, type: Which Revit sessions are connected to FLOW, and which models are open? Your AI app lists the connected Revit sessions. If the list is empty, Revit isn't connected yet: open Control Center, click Sign in, then start Revit. 3. Your first prompt: copy it and paste it into your AI app List the warnings in this model by type. This prompt only reads. It doesn't change anything in your model. Your .rvt stays on your machine. 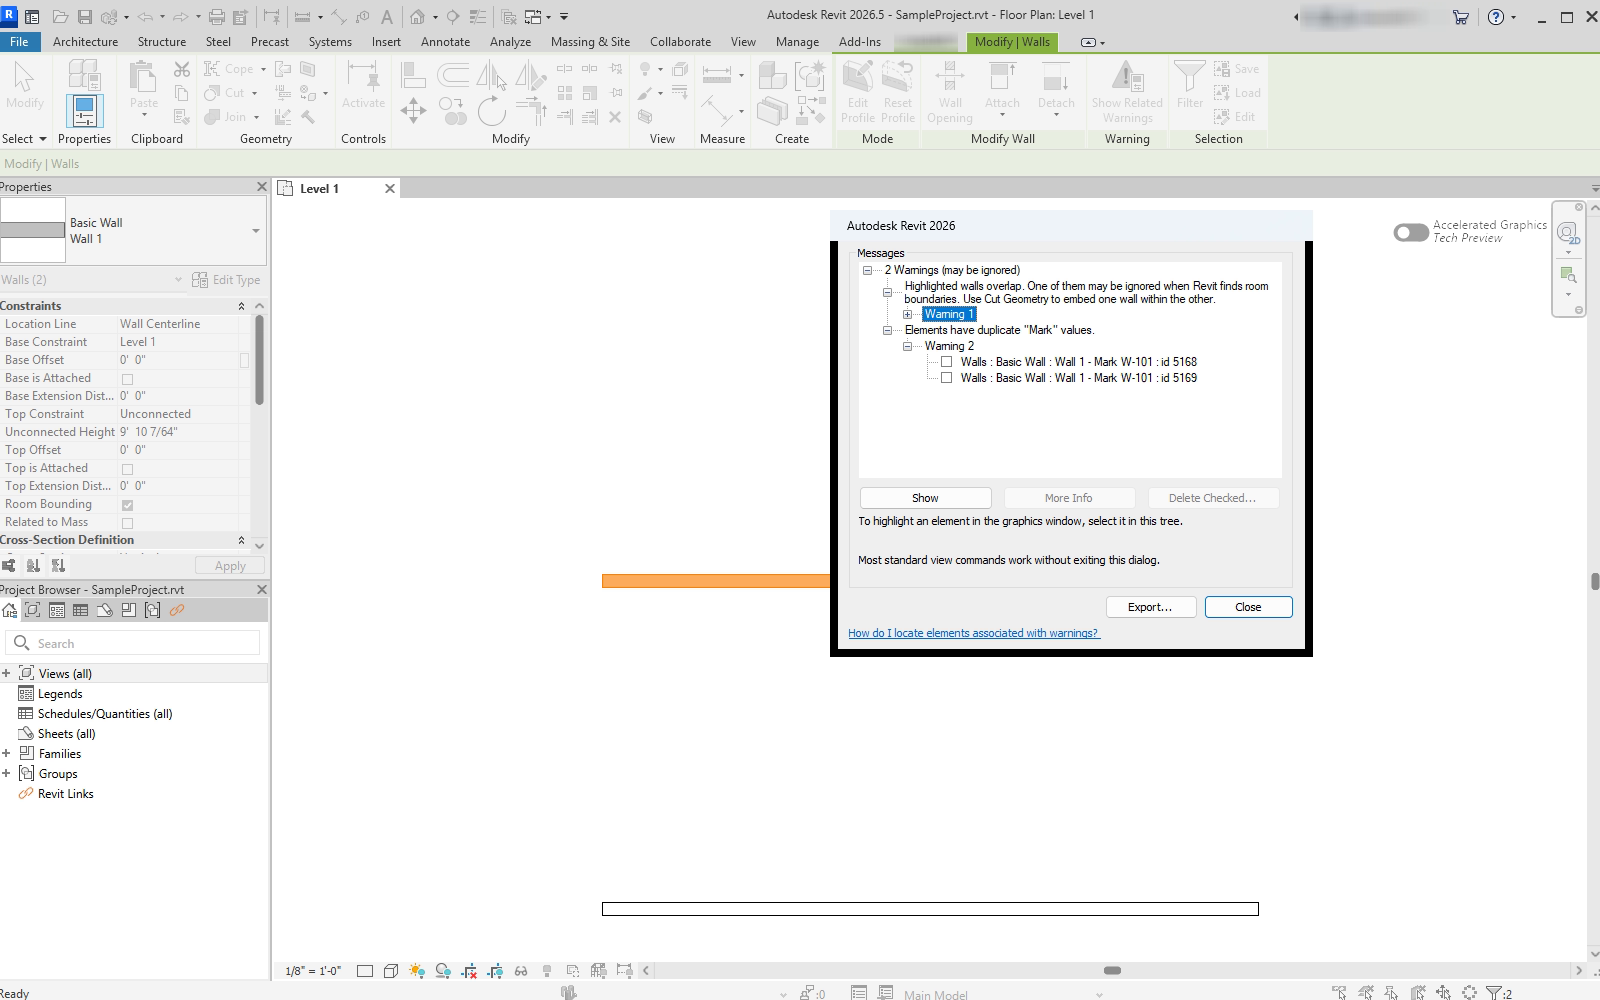 Screenshot · Revit, the model's warnings grouped by type A few more things FLOW has done with real Revit models (screenshots from Revit)
| |||
NEXT Next: batch-rename your sheetsOnce the warnings prompt works, try this. Renaming sheets by hand usually takes a lot of time. 1. See the list of sheets first Open your Revit model, then paste this into Claude Desktop or Antigravity: List the sheets in the model with their numbers and names. 2. Ask for new names, and preview before anything changes Change the naming rule to fit your project, then paste: Suggest new names for these sheets using this rule: [level code] - [current name]. Show me a table of old and new names first, and wait for my OK before renaming. 3. Happy with it? Let it rename Every change is a named undo step you can roll back in Revit. Renaming a whole batch in one command is still a single undo step. 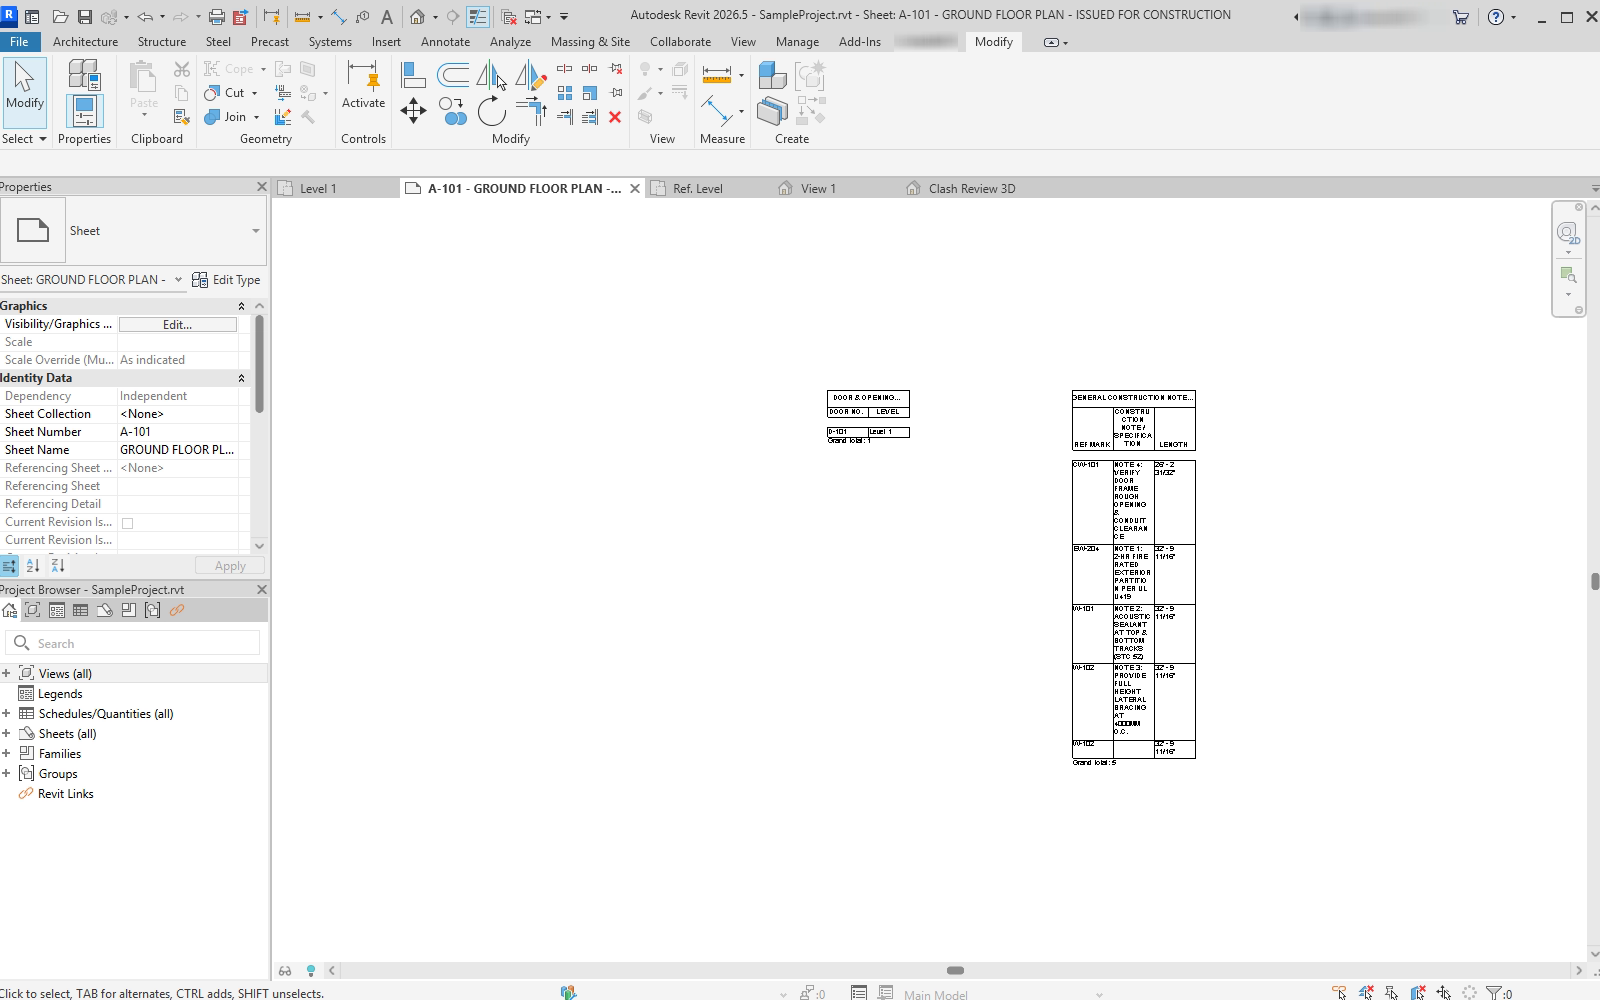 Screenshot · Revit, sheet A-101 with Sheet Number and Sheet Name in Properties Stuck anywhere? https://765tflow.com/support More help: https://765tflow.com/docs?lang=en | |||
The 765T Flow team · 765tflow.com/support |